")
If you dread opening your email and seeing your inbox at 300+ unread emails…
If you feel like your Google Drive is a black hole where you can’t find ANYTHING…
Or if you feel like you want to get organized so you can save some time, but you don’t want to spend hours to get to that point…
Then, you’re going to love these really helpful (and SIMPLE) organizational strategies for teachers.
Let’s dive in!
P.S. I’m an educator just like you so these strategies are tried and true to help you get organized fast.
STRATEGY #1 – ORGANIZE YOUR INBOX
Strategy one..organize your inbox.
I know this sounds super simple but taking the time to do it now will really help set you up for success.
I don’t know about you but for the longest time, I always said “I’ll get to it. I’m too busy today. I’ll get to it.”
Before I knew it I had 3,000 emails just sitting in my inbox and I could never find anything.
So here are your steps to get organized:
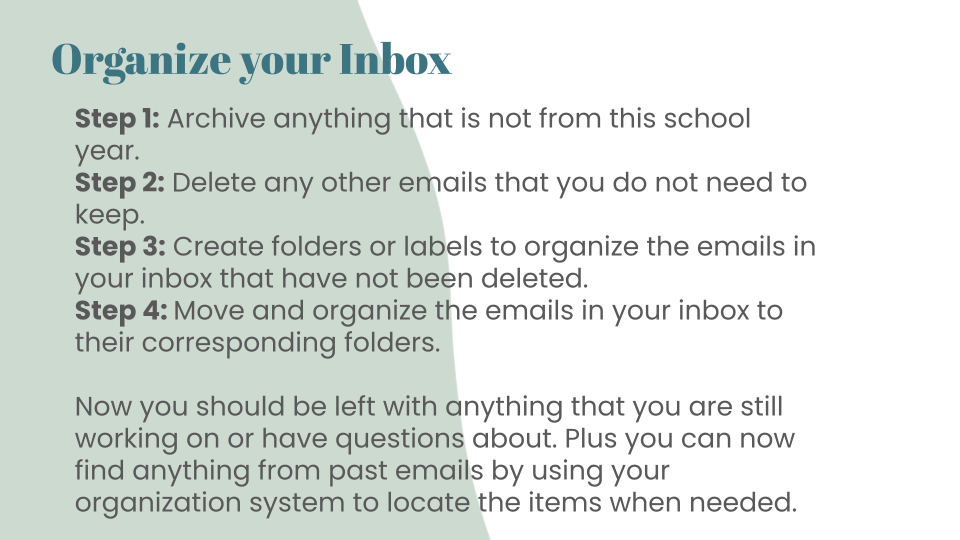
STEP 1: Start by archiving anything that is not from this school year.
When I say archive I’m NOT saying delete. I’m saying archive them to a folder or to your all mail so that you don’t have to have them in your inbox.
This way you can still find them if you need to but chances are you probably don’t need them if they’re not from this school year.
STEP 2: Now go through what’s left and delete them.
Maybe you have things that you subscribe to that you don’t need or something that’s already been done.
You’ve completed it and you don’t need to hold on to it, so get rid of it.
STEP 3: Create folders or labels to organize the emails in your inbox.
To do this, look at what you have and create some organization.
Do you have different needs for different teams you’re on?
Or different people you work with? Or student and parent emails?
Create a system through folders.
Then you’re going to take the items in your inbox and you’re going to move and organize them into those folders.
Feel free to leave the ones you’re still working on in your inbox as your reminder.
But, start that organization because the minute you do it, it will make your life much easier.
You’ll be able to find ANYTHING that you need in your inbox at any time.
Whether you’re going into your folders or going just straight to your inbox to find what you’re working on.
Also, if you still have questions about an email, it will really help organize that process and make your inbox a much smoother place for you to go.
STRATEGY #2 – ORGANIZE YOUR DIGITAL STORAGE
Now that we’ve organized your inbox, let’s organize your digital storage!
So your digital storage is a place where you have all of your digital files.
You want to make sure that you can easily find things.
And that you’re NOT scrolling and scrolling and scrolling through pages of files.
Here’s how to organize your digital storage:
STEP 1: Create your folders to start creating places to put your items.
A good starting point is to create different folders for committees you’re on or for different classes you teach.
Don’t hesitate to kind of make this top-level more generic and get more specific in the next step.
STEP 2: Create subfolders within the main folders you just created.
So let’s say you have a folder titled “Writing”.
You can go into that folder and break down your writing folder into subfolders of the different writing genres that you teach or the different writing classes that you teach.
Don’t hesitate to kind of start generic and then make subfolders within those folders.
STEP 3: Now that you have all of your folders and subfolders created go back to your home for your digital storage and start moving those items into the correct folder to complete your digital organization.
This will allow you to kind of see an overall view and then click into the areas that you need to go to.
You’ll be able to quickly find your digital items whenever you need them or whenever you need to share them!
STRATEGY #3 – USE YOUR CALENDAR TO CREATE AND MAINTAIN YOUR SCHEDULE
I love using my digital calendar to book my time and to really allow me to see when I’m available and what’s going on from day to day.
Here are the steps to follow:
STEP 1: I first started by creating a work calendar.
This is where I would schedule any meetings, appointments or students coming in.
Most importantly, I would schedule the time when I would work.
For example, grading times like working on grading essays.
If I didn’t put that into my schedule, I would never have the time during my workday to do that.
STEP 2: I created a classroom calendar or calendars depending on how many classes I taught.
I would have one for each class and this calendar would be for me, my students, and their parents.
Then, I would be able to add things to it to share with them on my work calendar.
STEP 3: Once I had those calendars created, I would go in and add in those meetings, work times, and any other specific appointments to my work calendar.
STEP 4: I would then use my class calendars to add in reminders for students and parents including classwork assignments and projects.
I always made sure that this class calendar was available to my students and parents through a classroom hub or a website.
How ever you normally share that information with your students and parents.
This should really allow you to be organized and have a very quick glance at every day of what’s going on from your calendar from day to day.
STRATEGY #4 – USE A DIGITAL NOTE KEEPING TOOL TO CREATE, TRACK, AND SHARE LISTS
Strategy number four is to use a digital note keeping tool to create, track, and share lists.
Here’s how to do that:
STEP 1: You’re going to select that digital note keeping tool and it can be as simple as creating a document where you make your list.
Or you can use a tool like Google Keep.
Google Keep is a great tool that allows me to create lists and I can collaborate with people.
I can track progress and easily access that tool from my computer or any device like a phone as well.
Once you’ve selected your tool, you’re going to use the tool to create and share your collaborative lists.
So for me, I love to have a to-do list for each day of the week because sometimes I do specific things on Monday and specific things on Thursday.
I’ll have a list for each day of the week so I can write the to-dos out.
I’ll also have a team collaborative list so when we have our weekly meeting, we can go to this list and look at anything that anybody’s added.
For example, questions that have been added because so often we think of something, but we’re not in our meeting.
If we have a digital place to kind of put that together and do it collaboratively, then that’s really helpful and leads to a more productive meeting.
And then I come back to my Google Keep probably almost daily to track my lists and my progress.
I update those as needed whether I’m in a meeting with my team or using my daily to-do list to make sure that I’m on track, on schedule, and remembering to do all the different things that I need to do.
STRATEGY #5 – CREATE A DIGITAL CLASSROOM HUB
I love having a digital classroom hub because this gives my students a first place to go before they come to me.
Here’s how to create a digital classroom hub:
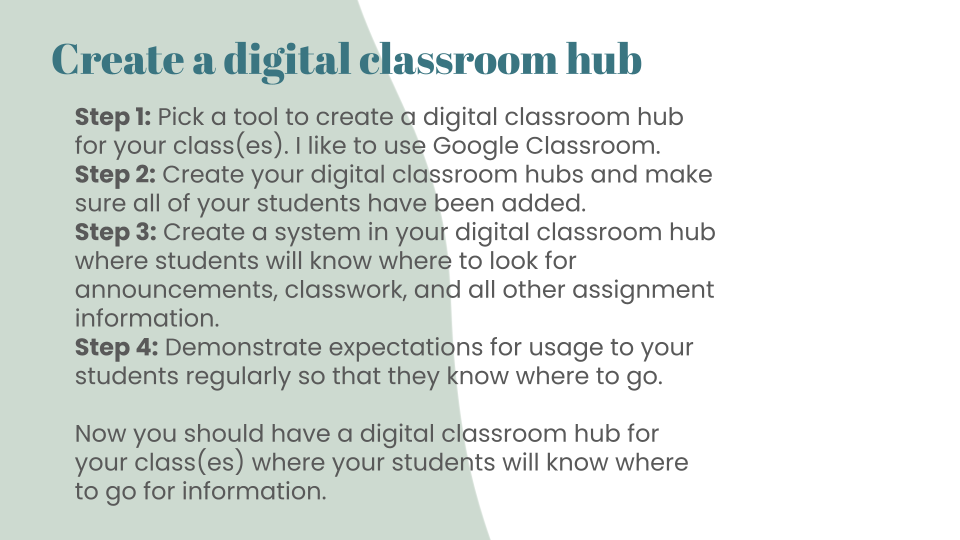
STEP 1: You’re going to pick a place to create that classroom Hub.
I like to use Google Classroom, but I also know lots of teachers who will create a website as their digital classroom Hub.
Or even something as SIMPLE as a document or a presentation.
You just need a place where you can put everything that your students might need or have questions about in terms of classroom procedures, schedule assignments, and any other important links or documents.
STEP 2: Once you’ve selected your tool or platform, you’re going to build that out with what your students need.
And make sure you’ve added your students or they have access.
This is why I love Google Classroom because it does ALL of the sharing for me.
STEP 3: You’re going to create a system in your digital classroom where your students will know where to go to find assignments, classwork, or projects.
For example, in Google Classroom, our front page always has all of the announcements and reminders.
Then, our classwork page is where all of the assignments, rubrics, and classroom procedures are located.
I also use topics to make different areas so students can easily find that information.
STEP 4: Demonstrate your expectations for usage to your students regularly so that they know where to go.
You’ll want to introduce this classroom hub to your students and walk them through where everything is located.
Then, if they come to you with questions, you know it’s easily found in your classroom hub and you can refer them to go there first and then come back to you if they have follow-up questions.
The more you introduce this and demonstrate those expectations, the more they’re going to use it and know where they need to go to get their questions answered.
STRATEGY #6 – CREATE TEMPLATES FOR ITEMS YOU USE REGULARLY
This strategy is all about how to create templates for items that you use regularly to save time.
This was a real game changer for me once I started doing this.
I started small with just my digital lesson plans.
Here’s how to create a template:
STEP 1: Create a folder in your digital store storage that will allow you to have your templates in one place.
STEP 2: You’re going to create your first template.
You can create this from scratch or take something you’ve already done.
To get started, I just took my regular lesson plans.
I made a copy of it and then I deleted all of the weekly information I put in.
I was then left with the shell of my lesson plans and I titled it “Lesson Plan Template”.
At the beginning of every week or whenever I made my lesson plan for the next week, I would just go to that template, make a copy, and then I could just fill in the information.
I didn’t change the template or the formatting.
This helps you create that template quickly and then you JUST make a copy.
Once I started getting in the habit of this with my lesson plans, I realized there were a lot of templates I could use with my students whether it be different procedures that they do in the classroom or things like graphic organizers that they would need.
Over time, my template folder just grew and grew and it made my life much much easier.
Start small and then your template library will just grow from there.

STRATEGY #7 – USE DIGITAL TOOLS FOR ASSESSMENTS AND COLLECTING DATA
Our final organizational strategy for teachers is to use digital tools for assessments and collecting data.
STEP 1: Start by picking one tool to use.
There are so many digital tools out there.
I know it can be overwhelming, but start with one.
My favorite tool to use is Google Forms because it is so simple for me and my students.
STEP 2: To start integrating more digital tools for assessments and collecting data in my classrooms, I just picked one assessment that we did regularly and was already created.
We were doing it on paper and I just digitized it.
I transferred it into a Google form.
Then, I created that Form and then I demoed it for my students.
I walked them through the expectations and then I gave it to them.
What was really great about this was that it allowed me to have all of my data in one digital place that I could access at ANY time.
I didn’t have to worry about keeping a stack of papers, losing a paper, or taking them to and from wherever I was going to grade them.
It allowed me to keep this really nice digital record.
Now, a lot of digital assessment tools will even grade them for us, allow us to review them, and make adjustments as needed.
Starting with a tool like Google Forms is great.
There are a lot of different assessment tools and as you get more familiar with them, maybe you’ll find that you like different tools for specific assessments.
That’s okay to use different tools!
Start with one to make it easy on yourself and the more you get familiar with it the more it will grow over time.
I hope this post was helpful!
I hope you’re at least going to be able to walk away with a few ideas to help with organizational strategies in your classroom.
And we’ve got even more free resources, tips, and videos you might like so stick around and connect with us here.
P.S. Looking for summer PD for ALL of your teachers? We’ve got you covered! Support new teachers + overworked and overburdened teachers with these learning options.

")
